
The Akna Agent developed for Windows can be installed using a command line interface and Administrator privileges. This tutorial will show an example and the step-by-step on how to install the agent.
Step 1: Download the Agent
Download the Akna Agent
Step 2: Install the Agent
To install the Akna agent, copy the agent anywhere under C:\ and execute the following command line:
Set-Location "C:\<agent-path>"
.\akna-agent.exe --install --username='<username>' --password='<password>' --tenant='<tenant-id>'
The <username> is your email address registered in akna.io
The <password> is your password.
The <tenant-id> is the Tenant where your device is going to report in.
Step 3: Validate the Akna Agent installation.
-
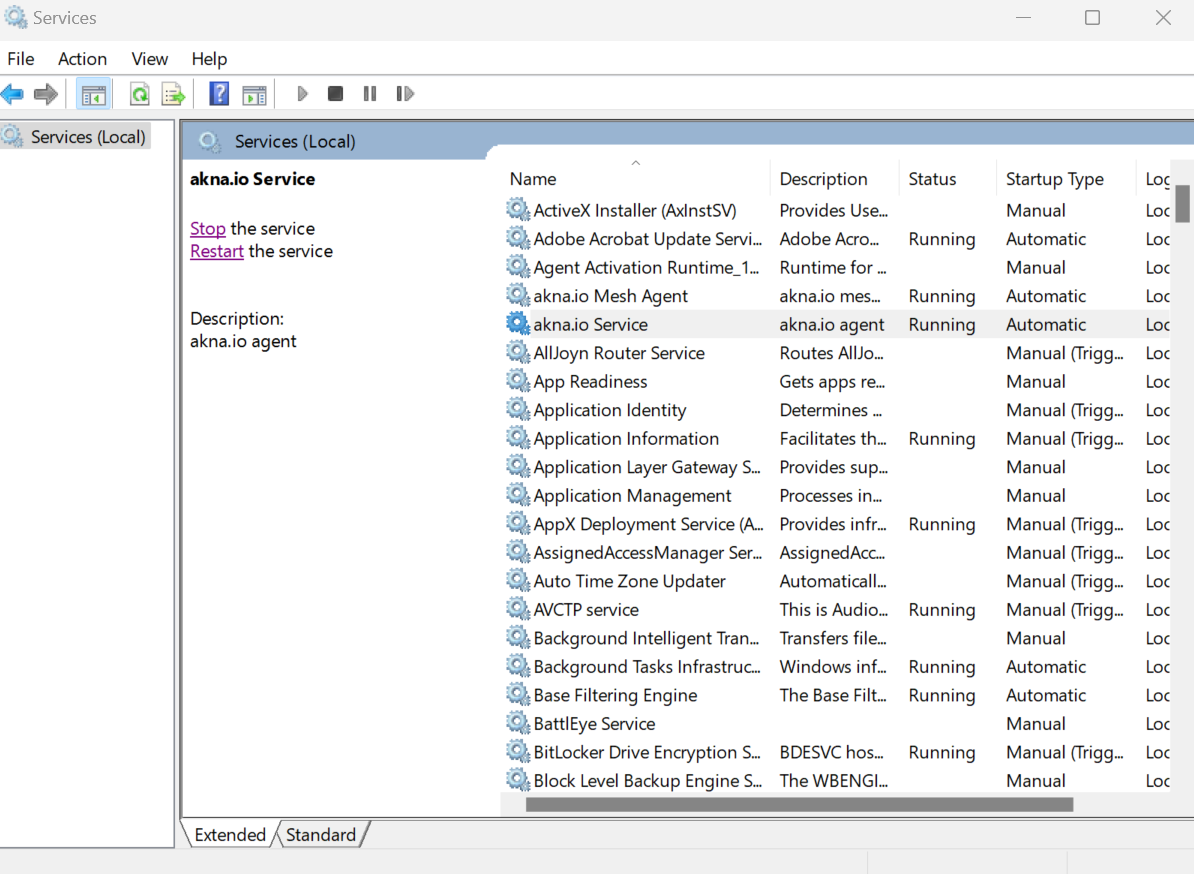
Using the services.msc windows manager app.
Openservices.mscfrom the Windows start menu.
-
Using powershell.
Open a PowerShell window and execute the command:
Get-Service -Name "akna.io Service"
The output should be:
Status   Name               DisplayName
------   ----               -----------
Running  akna.io Service    akna.io Service
If the Akna Agent was properly installed, the device should report in the application almost automatically. Dependending on the internet connection it might take a few seconds.
Conclusion
By following this tutorial, you’ve learned how to install the Akna Agent on Endpoints with Windows 10 or Windows 11. Now that you have installed the Akna Agent you can start using the features provided by the Akna Application.